


Whether you’re using a phone, a point-and-shoot camera, or a more professional DSLR – when you first start out in photography, what comes naturally is shooting a single exposure to capture the scene in front of you.
You observe the scene, compose the image the way you want it, adjust your settings and then take the photograph. From there, you might choose to leave your image as is, or edit it in one of the many post-processing tools on the market like Lightroom or Photoshop to enhance its final appearance before printing or sharing the image. Most people don’t even consider that photographs could be created any other way.

Although maybe not the most popular choice for many real estate photographers, shooting a single exposure to get your final image is also an effective strategy in real estate photography. When done well it can produce the most natural-looking final result with the least amount of post-processing work and without any of the surrealism that sometimes creeps into HDR blending.
Top Tip: Always set your camera to produce RAW files rather than JPGs.
RAW files are bigger and do require some post-processing work, but you have a lot more leeway to fix any issues in the image with a RAW file. Unlike a JPG, which produces a flat image file that can only be edited by layering filters over the original file, RAW files are almost 3D-like in their versatility. Instead of layering filters over an already compressed image, when editing a RAW file you’re actually seeing and selecting different “looks” that the camera captured and wrote into the file. RAW files are particularly helpful for editing colors as they contain all possible white balance settings within themselves – allowing you to adjust the color tones much more effectively than with a JPG.
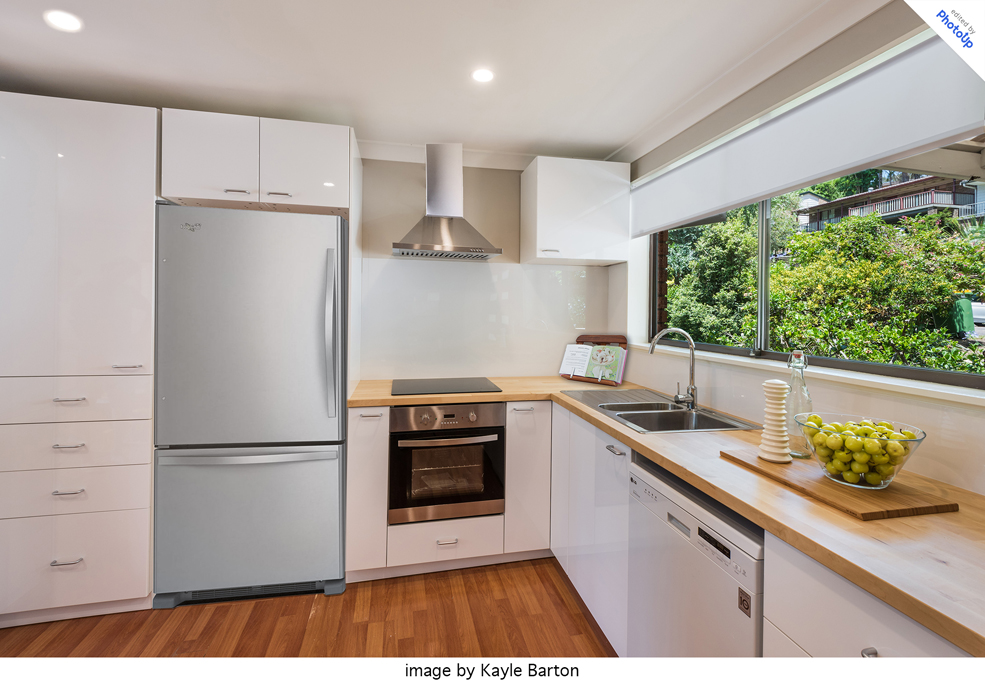
The Art of Shooting Single Images in Real Estate Photography
Since you’ll only be using a single exposure to create your final image, the most important part of the shooting process is how you will light the scene. There are three main techniques you can use:
- All ambient – adding no additional lights beyond the light from the windows and the lights already in the room
- On-camera bounced flash – using a mounted flash unit on your camera bounced off the ceiling above you or the walls beside you to add additional light to the frame
- Off-camera flash – using a series of flash units hidden around the scene and synced to your camera to add pockets of light to particular areas.
Each of these lighting techniques has its pros and cons and it really depends on the final look you’re after and your own skills as a photographer to know which you should use. For some houses, it might be best to use a combination of all three depending on the specifics of the scene you’re trying to photograph. Here’s a quick breakdown of the advantages and disadvantages of each technique.
The Ultimate All-in-One
Real Estate Photographer Business Platform
Grow a successful real estate photography business with PhotoUp.

Ambient Lighting Only
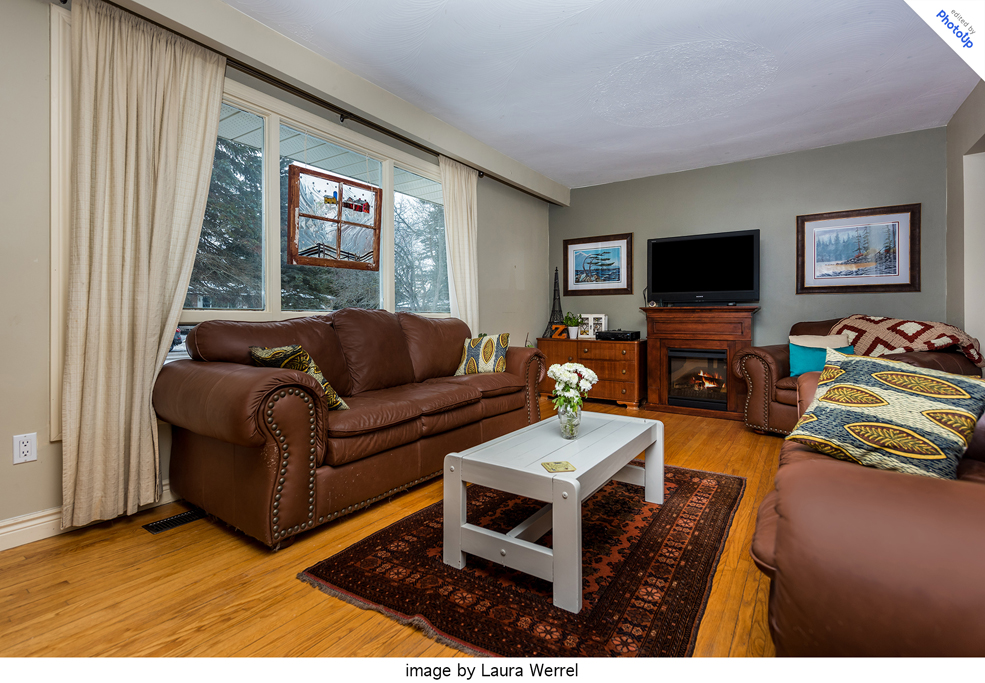
Shooting using only ambient lighting has the advantage of requiring no extra lighting equipment and being truly the most “natural” form of lighting. In the right setting with large windows and a space that natural light brightens really well, this can be a beautiful way to display the home and show off its best features. In darker houses, however, the room will tend to look dull with lots of dark shadows. The walls are also more prone to picking up color casts from the lights in the room and the window when using only ambient lighting. This is the easiest style of shooting, and often provides the most artistic “look”, but it might be the hardest style to deliver the types of images that realtors tend to want to see.
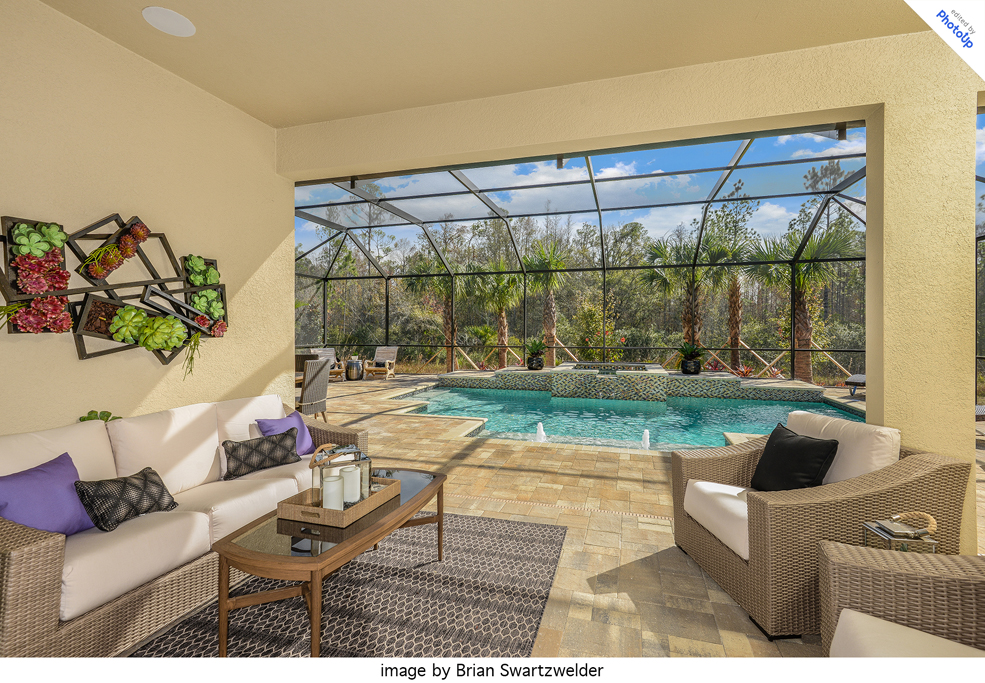
On-Camera Flash
Using on-camera flash is a nice compromise to the pitfalls of using only ambient lighting. Like shooting with only ambient lighting, on-camera flash is fairly quick and easy to set up. Bouncing the light from the flash off a ceiling or wall will provide a softer light than a flash pointed straight ahead does and using cheap and easy-to-find flash diffusers can also help. On-camera flash tends to provide brighter images than ambient lighting with minimized natural shadows and more accurate colors. The trade-off is that the light tends to be the brightest in the first half of the scene with objects further away from the camera dropping into shadow creating an unnatural look that has to be minimized during the editing process. But by adjusting your camera’s exposure settings so that the majority of the scene is lit by the ambient light with the flash set to the lowest possible power to still be effective at minimizing the shadows, you can still create a natural look with more accurate colors and a better balance of light than an all ambient shot.
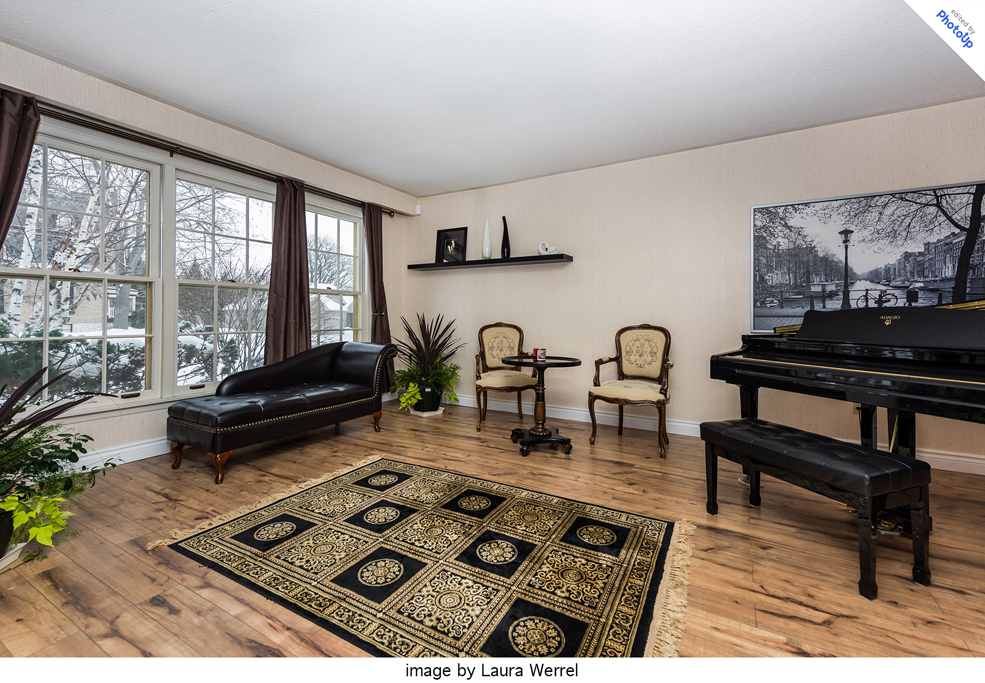
Off-Camera Flash
Using off-camera flash requires the most additional equipment and is the most time-consuming to set up, but when done correctly often has the best overall look. Since the extra light is off the camera it can be better directed at objects and areas of the scene that need additional light, eliminating the light drop-off for objects further away from the camera and often the flash shadows that go along with on-camera flash. The biggest challenge beyond just the extra time it takes to set up several flash units placed around the room is finding places to hide them so they either don’t appear in the frame or are easily cloned out later. For this reason, many photographers that use off-camera flash, find it easier to shoot multiple exposures with the light directed at different spots in each exposure and then hand blend the exposures later in PS but this is also a time-consuming process. In situations where you are being well-compensated and you might have a little extra time than you normally would, using off-camera flash might be a great way to get the best possible shot, but it might not be economically worth it for every house you shoot.
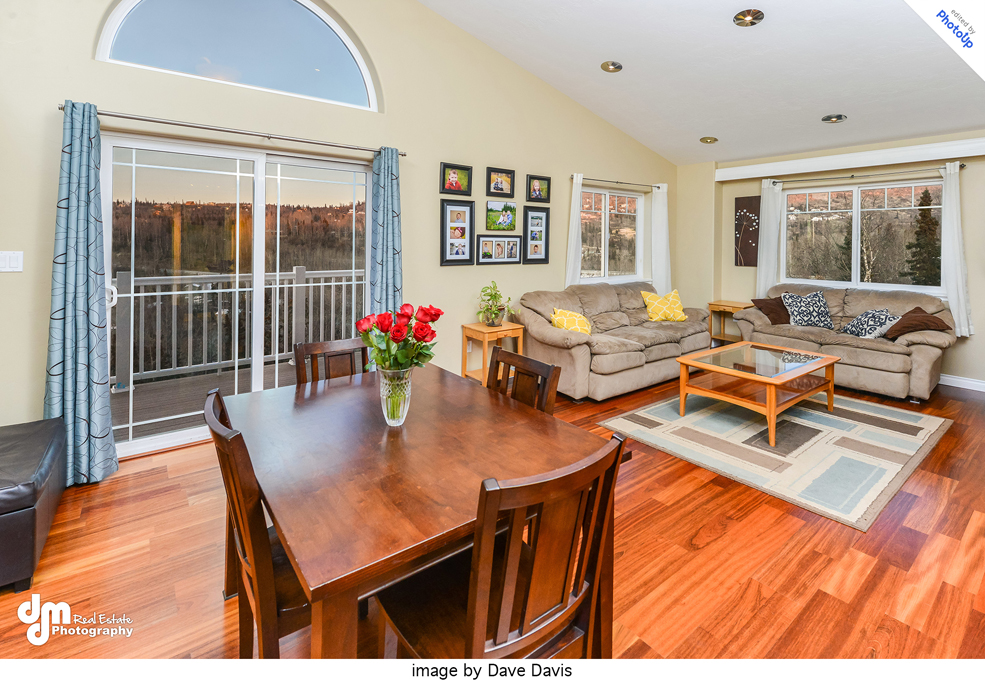
In most cases using some combination of ambient lighting and on-camera flash will produce the best look in the least amount of time. The real key to getting a well-lit natural shot is balance, knowing how to set your shutter speed, ISO, aperture, and flash power in such a way that the image is bright enough but still looks naturally lit.
Equipment Needed:
The equipment you’ll need will obviously depend a bit on which style of shooting you choose but here are some basics you’ll definitely need:
- A good professional or prosumer camera body – you don’t need the most expensive professional camera on the market, but you’ll need a camera that shoots in full-frame with a sensor that adapts well to low-light situations. You’ll want a camera with a sensor of at least 12 megapixels, preferably 24 megapixels or more. Nikon’s D810 or Canon’s 5Div are examples of this type of camera.
- A wide angle lens – the biggest difference between a professional and an unprofessional real estate photo is often the lens. Wide angle lenses of 18 mm or below (preferably 15 or 16mm) will allow you to capture the whole room in the frame. This makes the room look bigger than it would with a less wide lens like a 24 or 35mm.
- One or more flash units – you don’t have to go crazy with lighting if you don’t want to be a good flash unit (like Nikon’s SB900 or equivalent) is essential. If you want to use off camera flash you’ll also need a way for your camera to talk to each unit using radio poppers or pocket wizards or the slave mode of your camera. Each has its own pros and cons and if you wish to go this route we suggest you do some additional research on your own.
- A tripod – much of real estate photography, by necessity, is shot at a very narrow aperture and a very slow shutter speed making having a sturdy tripod essential to getting crisp, sharp images.
Other suggestions:
Shooting an extra frame specifically for the window view can but an excellent supplement to shooting single images. We recommend exposing for the view and then directing your flash directly at the window frame in order to make for easy blending.
Check out this handy PDF file about Best Practices for Shooting Single Images in Real Estate Photography. To read our blog on best practices for shooting HDR, click here.

